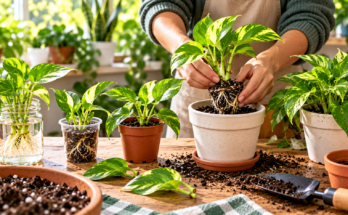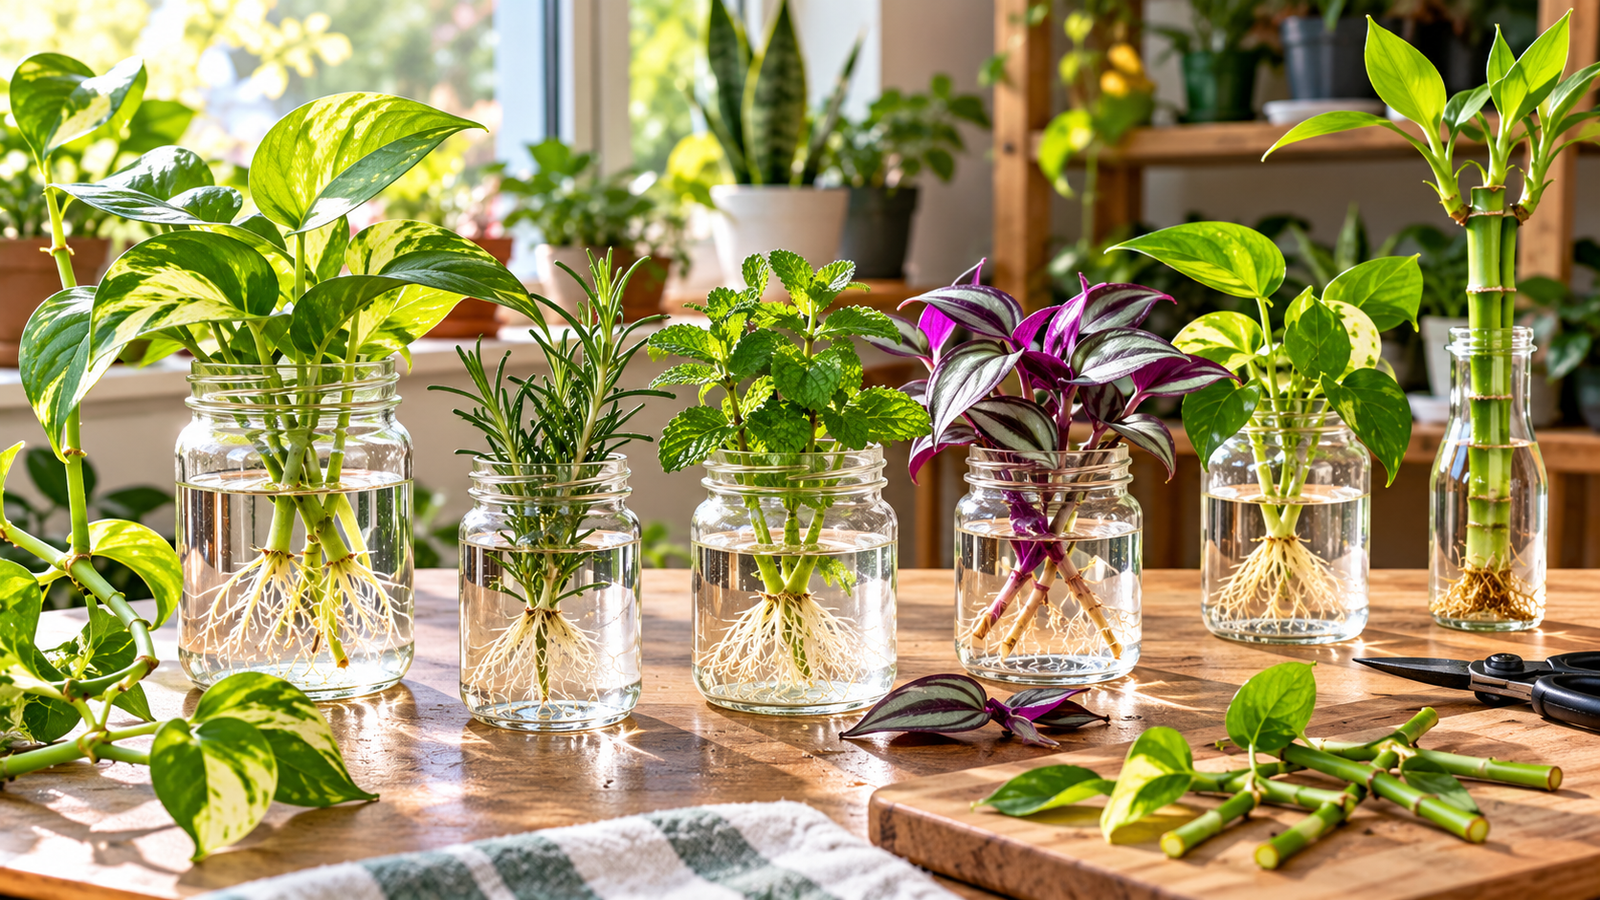
Propagating plants in water is one of my favorite simple gardening methods because it allows me to grow new plants without needing much space, soil, or expensive equipment. I find it especially useful when I want to multiply a healthy plant at home or simply watch new roots develop. There is something very satisfying about seeing tiny roots appear in clear water and gradually become strong enough to support a new plant.
Water propagation is a simple process, but getting good results depends on choosing the right plant, taking a healthy cutting, providing enough light, and keeping the water clean. In this guide, I will explain how to propagate plants in water step by step based on practical gardening knowledge and the things I consider important for healthy plant growth.
What Is Water Propagation?
Water propagation is a method of growing new plants from cuttings by placing part of the plant stem in water. Instead of immediately planting the cutting in soil, I allow it to develop roots in water first.
Once the roots become strong enough, the new plant can usually be transferred into a suitable potting mix. This method works particularly well for many common houseplants and soft stem plants.
One of the biggest advantages of water propagation is that the roots are visible. I can easily check whether roots are developing and notice problems before they become serious.
Choose the Right Plant
The first step in successful water propagation is choosing a plant that can grow from stem cuttings. Not every plant responds well to this method, so I always check the plant’s growth habit before taking a cutting.
Some plants that commonly work well with water propagation include pothos, heartleaf philodendron, tradescantia, coleus, spider plant cuttings, mint, basil, and some types of ivy.
Healthy plants usually give better results. I avoid taking cuttings from plants that are seriously diseased, severely damaged, or extremely weak.
Step 1: Select a Healthy Stem
I start by looking for a healthy stem with fresh growth. The stem should be firm and free from obvious signs of disease or serious damage.
A cutting with several healthy leaves is usually a good choice. I do not want to use a stem that is already dying because it may rot before developing roots.
When selecting the stem, I also look for nodes. A node is the point on the stem where a leaf grows or where new growth can develop. Nodes are extremely important because roots often emerge from them.
Step 2: Make a Clean Cutting
Once I have selected a suitable stem, I use a clean and sharp pair of scissors or pruning shears. A clean cutting helps reduce unnecessary damage and makes the process easier.
I usually cut the stem just below a node. The cutting should have at least one healthy node that can be placed in water.
I also remove leaves from the lower part of the cutting. Leaves that remain underwater can decay and make the water dirty. I keep the leaves above the water level whenever possible.
Step 3: Prepare a Clean Container
The next step is choosing a suitable container. I prefer using a clean glass jar or transparent container because it allows me to observe root development.
The container does not need to be expensive or special. A simple clean glass can work well for many small cuttings.
Before adding the cutting, I wash the container properly. A dirty container can introduce unwanted microorganisms into the water and may increase the chance of stem rot.
Step 4: Add Fresh Water
I fill the container with clean water. Room temperature water is generally a comfortable choice for many houseplant cuttings.
The most important thing is making sure the node is underwater while the leaves remain above the water. I do not completely submerge the cutting.
If several cuttings are placed in one container, I make sure they have enough space. Crowding can make it harder to monitor individual cuttings and may encourage problems if one cutting begins to rot.
Step 5: Place the Cutting in Water
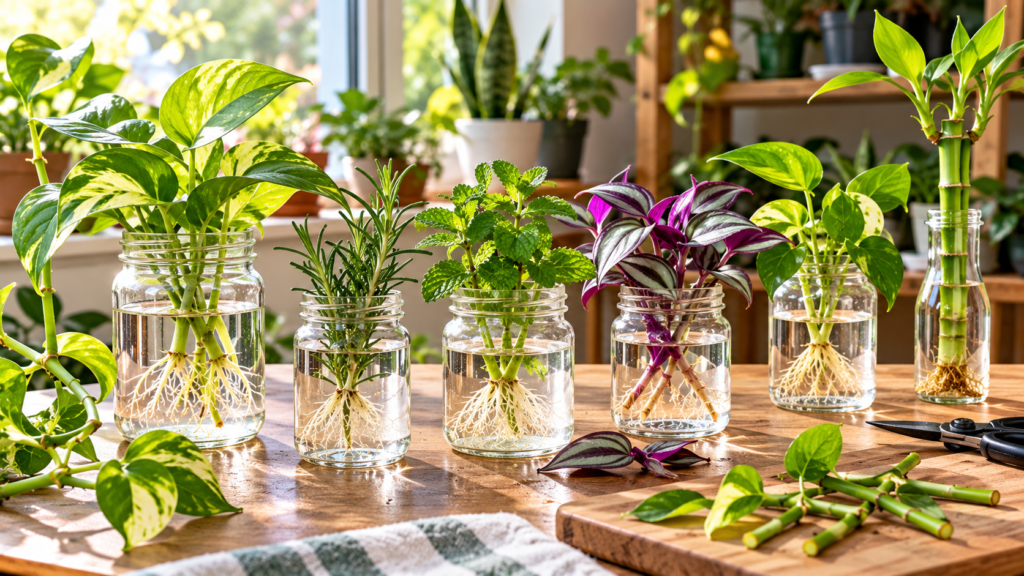
Now I gently place the cutting into the container. The node should be below the water because this is where new roots are likely to develop.
I make sure that most of the leaves stay above the water. Submerged leaves can become soft, yellow, and rotten.
At this stage, patience is important. Some plants develop roots within a few days, while others can take several weeks. I avoid disturbing the cutting unnecessarily.
Step 6: Provide the Right Light
Light plays an important role in water propagation. I place the container somewhere that receives bright, indirect light.
I avoid putting delicate cuttings under harsh direct sunlight for long periods. Strong sunlight can heat the water and stress the cutting.
A bright location near a window can work well. The goal is to provide enough light for the cutting to remain healthy while avoiding excessive heat.
Step 7: Change the Water Regularly
Keeping the water clean is one of the most important parts of water propagation. I check the water regularly and replace it when it becomes cloudy, dirty, or develops an unpleasant smell.
Fresh water provides a cleaner environment for developing roots. I also rinse the container if I notice algae, buildup, or other unwanted material.
There is no need to constantly disturb the cutting. I simply monitor the water and replace it when necessary.
Step 8: Watch for Root Development
This is probably the most exciting part of the process for me. After some time, small roots may begin appearing from the node.
At first, the roots can be tiny and difficult to notice. As the days pass, they may become longer and develop additional root branches.
I try not to pull the cutting out of the water repeatedly just to check the roots. Frequent disturbance can damage delicate new roots.
Instead, I observe them through the glass whenever possible.
Step 9: Be Patient With Slow Rooting
Not every cutting develops roots at the same speed. Temperature, plant type, light, cutting quality, and growing conditions can all affect the process.
If a cutting does not produce roots immediately, I do not automatically assume that it has failed.
However, I regularly check for signs of trouble. A healthy cutting should generally remain firm. If the stem becomes very soft, dark, slimy, or develops a bad smell, it may be rotting.
In that situation, I remove the damaged portion if possible and place a healthy section into fresh water.
Step 10: Know When the Cutting Is Ready for Soil
Once the cutting has developed a healthy root system, I can decide whether to keep it growing in water or move it into soil.
For long term growth, I generally prefer transferring many rooted cuttings into an appropriate potting mix because most plants are better suited to growing in a balanced growing medium.
I wait until the roots are developed enough to handle the transition. Very tiny roots can be more delicate and may need additional time.
Step 11: Transfer the Rooted Cutting to Soil
When the roots look healthy, I prepare a small pot with suitable potting soil. The soil should provide good drainage and should not remain excessively wet.
I make a small hole in the soil and gently place the roots inside. I cover the roots with soil without pressing too firmly.
After planting, I water the soil lightly and place the new plant somewhere with suitable indirect light.
The plant may need some time to adjust because growing in water and growing in soil are different conditions.
Common Mistakes to Avoid
There are several mistakes that can reduce the success of water propagation.
One common mistake is placing too many leaves underwater. This can cause the leaves to rot and make the water unhealthy.
Another mistake is using dirty containers or old stagnant water. Clean conditions can make a noticeable difference.
I also avoid placing cuttings in extremely hot or cold locations. A stable environment is usually better for root development.
Another problem is taking cuttings from unhealthy plants. A weak cutting may struggle to produce roots even when everything else is done correctly.
Finally, I avoid expecting immediate results. Plant propagation requires patience, and different plants have different rooting speeds.
Benefits of Propagating Plants in Water
Water propagation has several advantages. The method is inexpensive and does not require much equipment. A glass container, clean water, and a healthy cutting are often enough to get started.
Another advantage is that I can clearly see the roots developing. This makes the process educational and enjoyable, especially for beginners.
Water propagation can also help gardeners create more plants from existing ones. Instead of purchasing another plant, I can sometimes use a healthy stem from a plant I already have.
It is also a useful way to experiment with plant propagation without immediately working with soil.
How Long Does Water Propagation Take?
The time required depends on the plant and growing conditions. Some cuttings can begin showing roots within a week, while others may take several weeks.
I usually focus more on the condition of the cutting than on a specific number of days. If the stem remains healthy and the environment is suitable, I give it time.
Good light, clean water, healthy plant material, and proper temperature can all support successful propagation.
Final Thoughts
Learning how to propagate plants in water is a simple and enjoyable gardening skill. I like this method because it does not require complicated equipment, and I can actually watch the roots develop before my eyes.
The key is to start with a healthy stem, make a clean cut below a node, remove leaves that would sit underwater, and place the cutting in clean water. Providing bright indirect light and changing the water when needed can help create better conditions for root development.
Once the cutting develops healthy roots, I can move it into suitable soil and continue caring for it as a young plant.
For anyone interested in growing more plants at home, I think water propagation is one of the easiest techniques to try. It is affordable, simple, and rewarding. With a little patience and regular care, a small stem cutting can eventually become a completely new plant.